Mastering the Art of Ham Smoking
.jpg)
Embarking on a Fulfilling Culinary Journey: Smoking Ham in the Comfort of Your Home. While the process might appear intimidating initially, armed with proper readiness, equipment, and the insights shared within this article, you're on the path to crafting a delectable, juicy ham that will undoubtedly leave a lasting impression on your loved ones
Ingredients:
- Pork
- Misty Gully Ham cure
Step 1 : Preparation and Equipment:
Begin by assembling the following components: a mixing jug for the brine, a spacious container capable of accommodating the pork cut while being fully immersed in the brine, and a container suitable for refrigeration
Step 2 : Using Misty Gully's Maple Ham Cure:
In our current ham preparation procedure, we'll utilize Misty Gully's Maple ham cure. The prescribed ratio for the brine blend entails 130 grams of Misty Gully for every liter of water. Furthermore, it's essential to inject an amount of brine equivalent to 25% of the pork cut's weight
Step 3: The Injection Process:
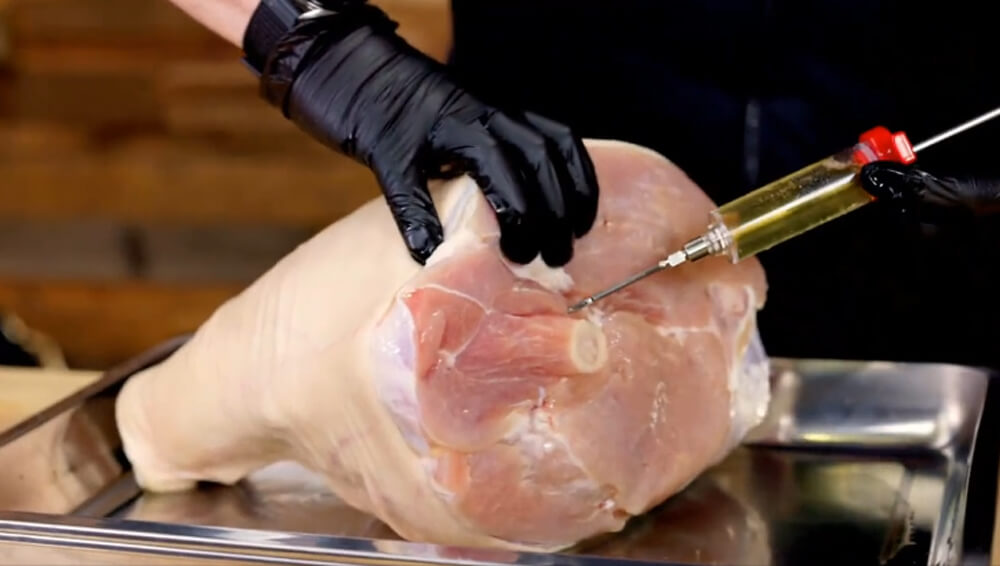
To guarantee a uniform dispersion of flavour, commence the brine injection at the ham's center and progress outward. While a range of injectors exists, opt for a model equipped with an elongated needle to access the ham's core effectively.
Step 3: Brining and Curing:
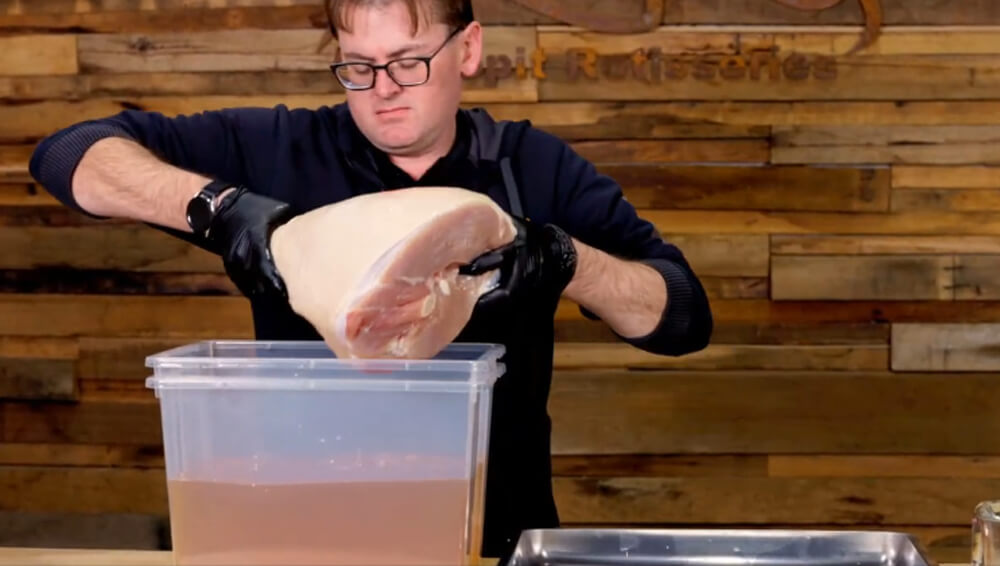
Position the injected ham within a spacious container, ensuring it rests comfortably without any spillage. Seal the container with its lid and place it in the refrigerator. A basic rule of thumb for the brining process is allocating one day for every 500 grams of meat. In the case of this ham, the brining duration will extend to roughly 11 to 12 days. Precise timing is crucial, so meticulously arrange your schedule by counting back from your intended ham-cooking date to guarantee proper curing
Step 4: Rinsing and Cooking:
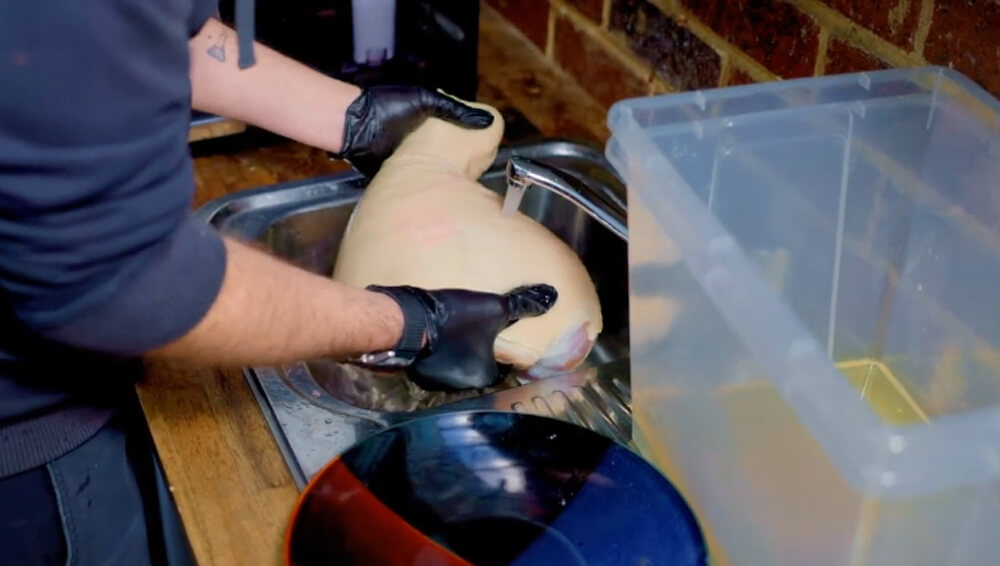
After the curing duration has concluded, take the ham out of the brine and give it a thorough rinse. Certain individuals opt to allow the ham to rest uncovered in the refrigerator overnight. This process encourages the formation of a pellicle, contributing to improved smoke absorption. Nonetheless, if your intention is to apply a glaze to the ham, the influence of smoke on the skin will be marginal, and the decision to leave it uncovered becomes discretionary.
Step 5: The Final Steps:
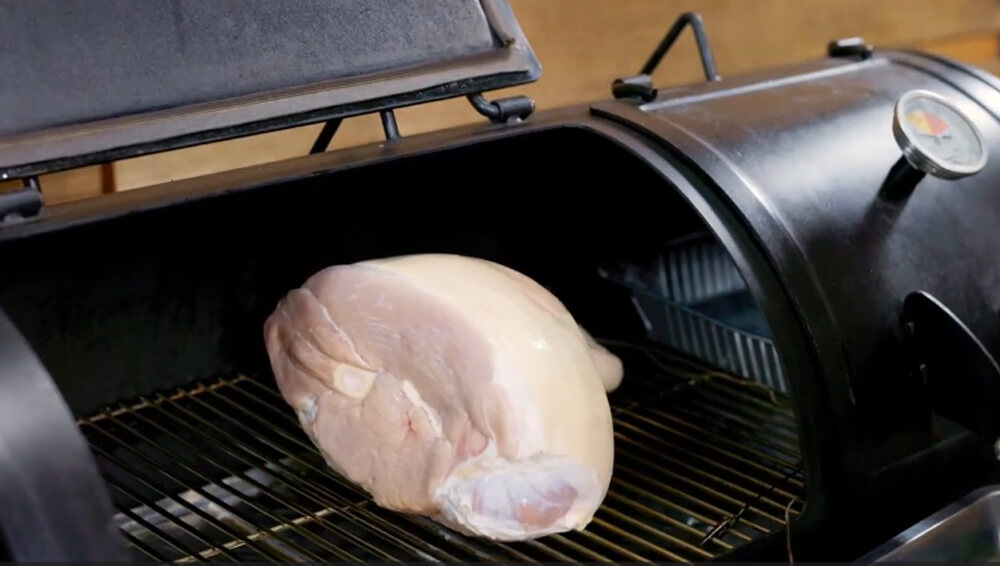
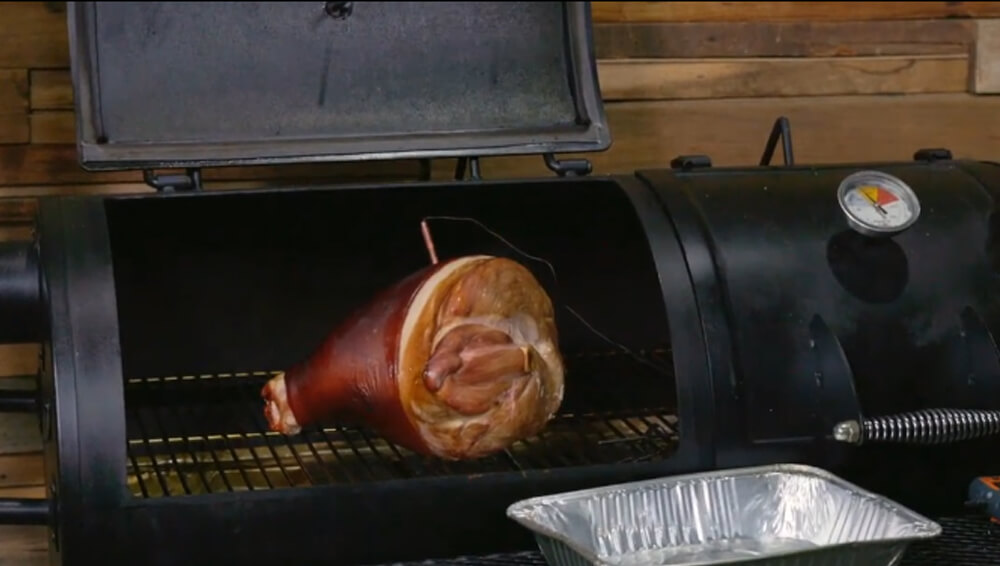
Following the smoking process, it becomes crucial to monitor the ham's internal temperature. Once it reaches 65 degrees Celsius (149 degrees Fahrenheit), the ham attains full readiness and can be taken out of the smoker. Always ensure to shield your hands with gloves, given the ham's elevated temperature. At this juncture, you can choose between slicing and relishing your homemade ham right away or allowing it to cool before placing it in the refrigerator.
Conclusion:
Congratulations on achieving the art of crafting your very own homemade ham! With these uncomplicated steps embraced and the process accorded its rightful time, your dedication will yield a delightful ham, fitting for every occasion
Check out our range of BBQ Smokers
Check out our recipe blogs
.png)
by: Michael Wilkie


