


The Art of Perfectly Smoking Bacon: A Step-by-Step Guide
Are you a true-blue bacon aficionado with a hankering to whip up your own mouthwatering, irresistible bacon right in your Aussie kitchen? No worries, mate! This guide has got you covered. We'll take you on a step by step guide to create some excellent bacon that'll give those store-bought varieties a run for their money. Just follow these ripper instructions and use top-notch ingredients, and before you know it, you'll be tucking into your very own homemade bacon that's seasoned to perfection and cooked like a true blue Aussie legend.
Ingredients:
- 80g Misty Gully Maple Bacon Cure
- Flaming Coals Porkinator Pork Rub
- 2kg Pork Belly
- 2kg Pork Loin
Procedure:
It's simpler than you may think to make delicious bacon at home. To engage on a culinary adventure that will result in deliciously flavourful bacon, simply follow these easy instructions.
Step 1: To get the ideal cure ratio needed for the best flavour, start by weighing your pork. To achieve the correct taste and texture, precise measures are essential.
Step 2: Make sure you have the proper balance of flavours to improve your pork by measuring out the exact amount of bacon cure needed.
Step 3: Make sure the cure is well distributed throughout the pork by giving it a thorough rubdown. This process guarantees that the flavours penetrate the pork, producing delicious bacon.

Step 4: Refrigerate the pork after placing it in a bag. Take it out, flip it over every 24 hours, and then leave it to cure for at least 4 days. Depending on the weight of your pork, the time may vary, but in general, 4 to 5 days will produce great results.
Step 5: Rinse your pork belly after the curing process is complete, then immerse it for an hour. By removing extra salt, you can balance your bacon's overall saltiness.
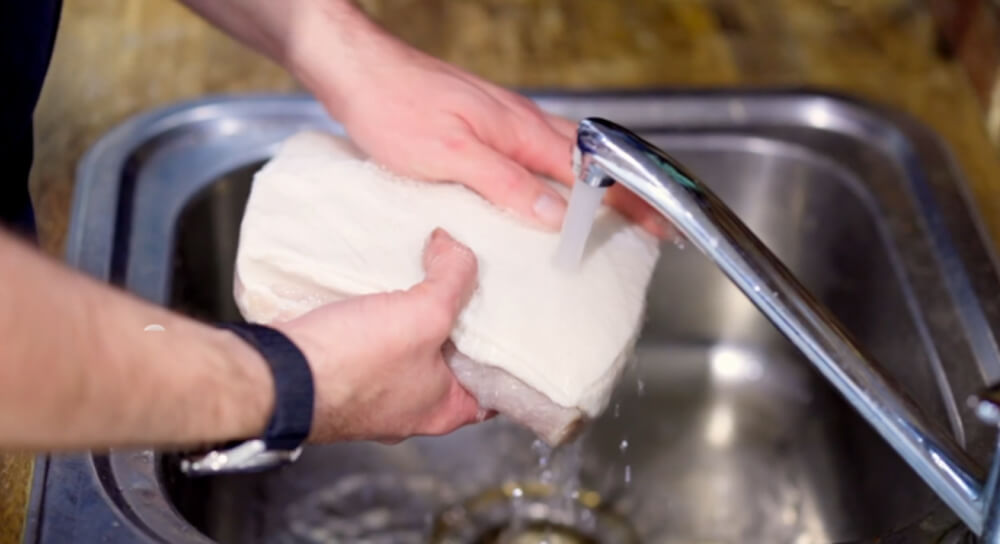
Step 6: Water should be removed from the pork belly. Repeat the rinsing procedure to reach the right level of saltiness if you like a less salty flavour.
Step 7: The pork belly should be properly dried before spending the night in the refrigerator. The bacon's flavour and texture are improved and intensified by this procedure.
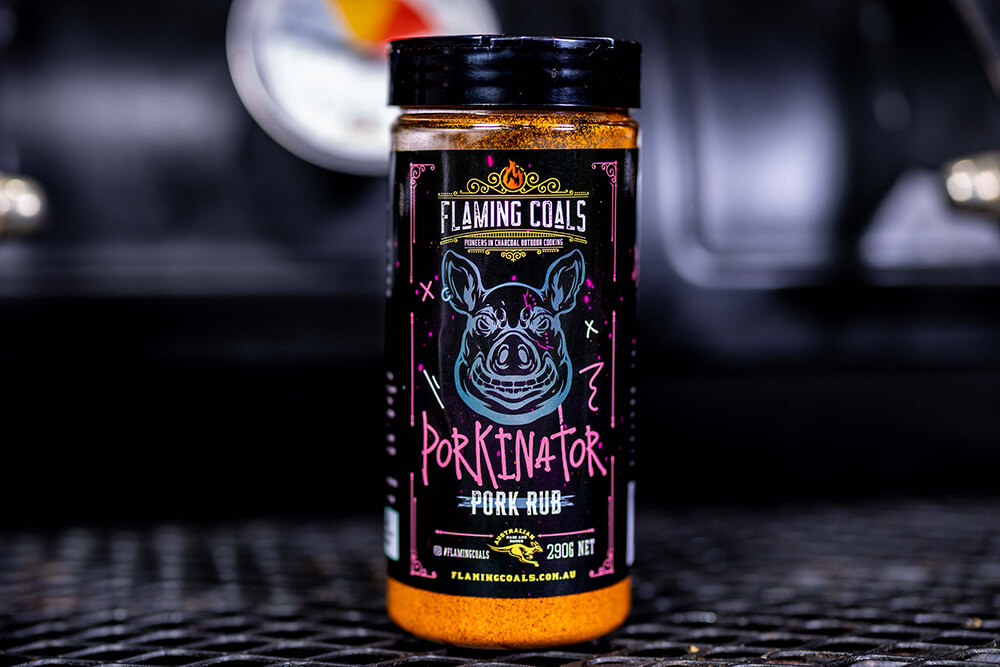
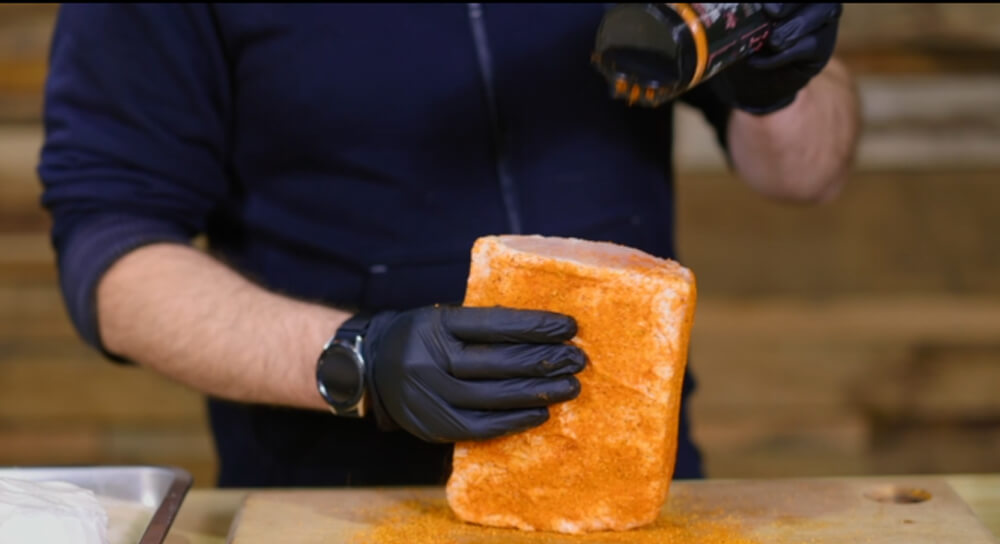
Step 8: Take the pork out of the fridge and use paper towels to absorb any remaining moisture. Apply the brand-new Flaming Coals Pork Rub, making sure the ingredients are dispersed equally for a mouthwatering taste.
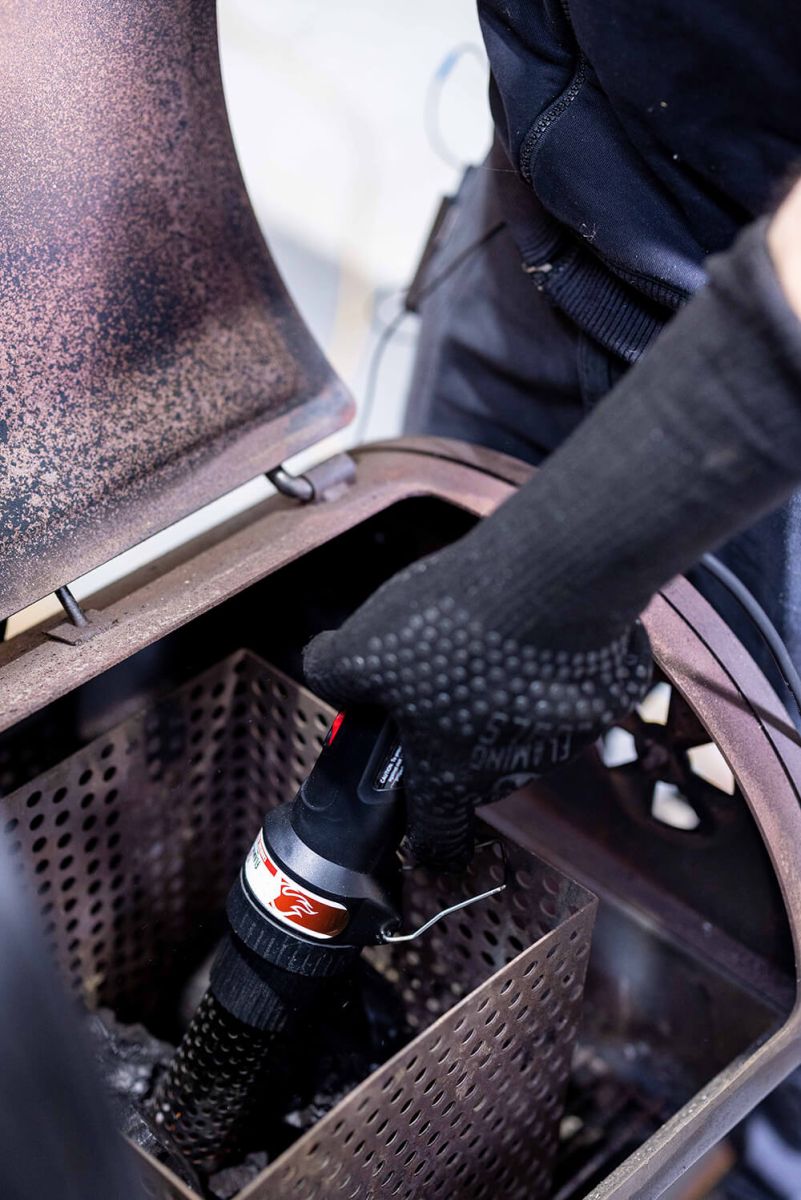
Step 9: Use the Flaming Coals Charcoal Starter wand to light your Flaming Coals Offset smoker, maintaining a steady heat source.
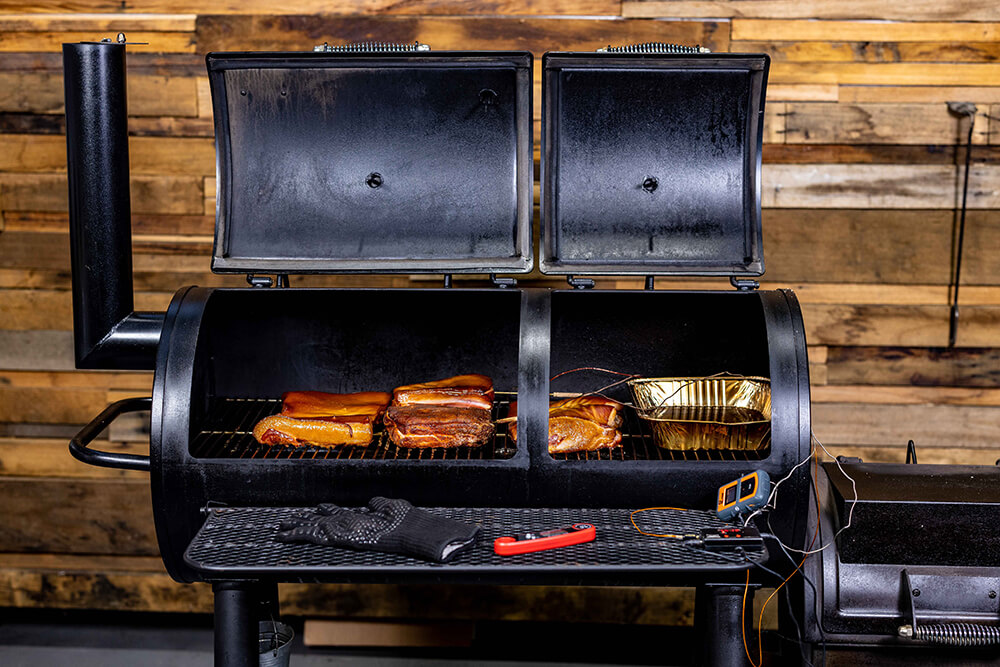
Step 10: Put the cured pork into the Offset Smoker and carefully raise the temperature to 220°F (104°C). You'll want more bacon because of the smoky tastes that the slow smoking procedure gives it.
Step 11: The pork's internal temperature needs to be closely monitored. Your bacon is properly cooked and ready to eat after it reaches 148°F (64°C).
Step 12: Refrigerate the pork overnight after transferring it to a pan. By allowing the bacon to cool and firm up, it will be simpler to slice the following day.
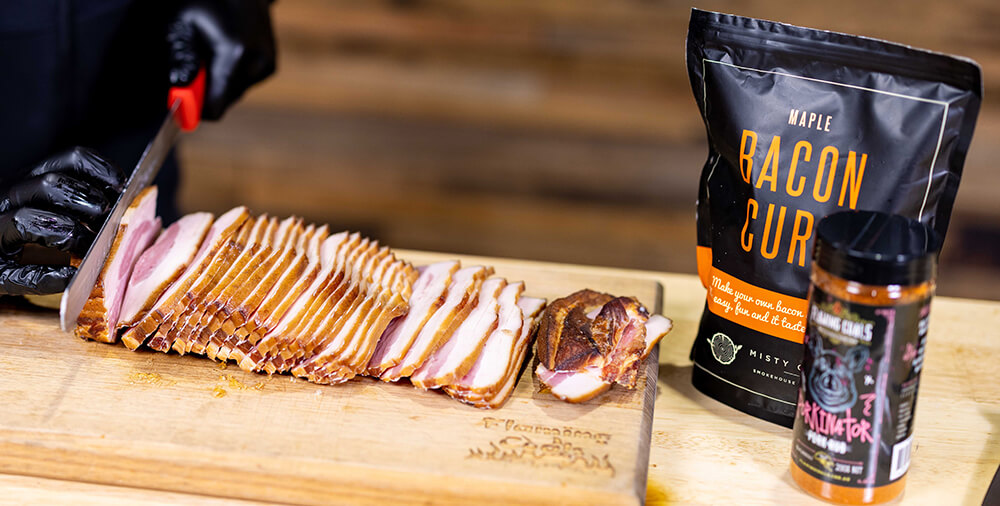
Step 13: Take out your bacon and slice it into thin, mouthwatering strips. Each slice is a testament to your homemade culinary skills.

Step 14: Finally, fry the bacon until it is perfectly crispy and brown. Your patience and work will be amply rewarded by the sizzling sound and mouthwatering aroma.

Now take a seat, taste the aroma, and bite into your very own homemade bacon masterpiece to reap the rewards of your labour.
Check out our range of BBQ smokers
Check out our Blogs
.png)
by: Michael Wilkie